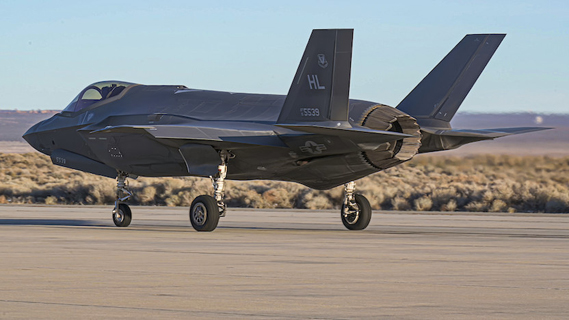
At NASA’s Armstrong Flight Research Center Calibration Laboratory, more than 80 percent of what the staff does focuses on preparing tools used to work on aircraft, gauges used in the cockpit, or the equipment and meters used to service aircraft.
The laboratory handles all of the center’s calibration needs including air data and pitot static systems, altitude and fuel quantity gauges, force tools like torque wrenches, dimensional tools like calipers, electrical multimeters and gas detection safety sensors.
Those measurements have to be right every time for flight and mission safety at the California NASA center, said David Swindle, lead operations manager. The calibration laboratory also is a value, costing significantly less than sending items to outside specialists, he added.
In total, about 5,200 items, including some unique, one-of-a-kind tools, are tracked in the lab’s metrology database and in the NASA Aircraft Management Information System, or NAMIS, database. Metrology is the science of measurement.
Documentation is used to recall each item and a barcode system is used to verify correct processing. NAMIS can pinpoint where every item was used in the event of a tool failure. In addition, a list of tools due for calibration is distributed weekly to branch chiefs who are responsible for those items.
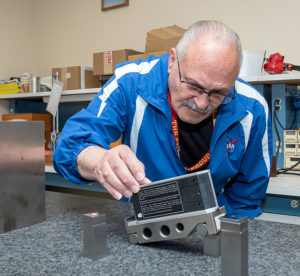
“When we do find equipment out of tolerance, a notification goes out and the user of the item has five days to respond,” Swindle said. “For example, if a tool isn’t working properly, everything that tool was used on during the current calibration cycle will be re-checked to ensure quality. For example, if such a tool was used on a tire, or an engine, that work would have to be verified or redone.”
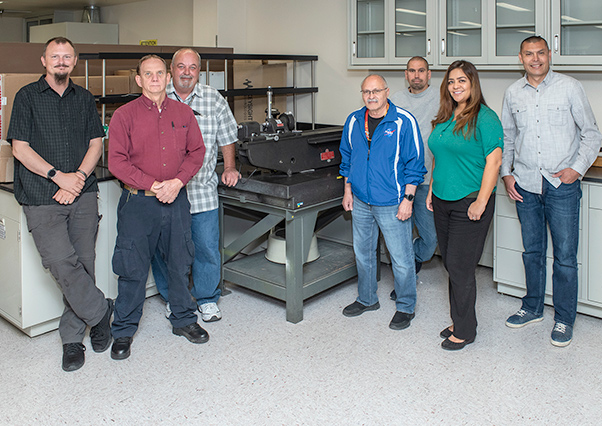
Swindle, four technicians and James Kelly, who is responsible for pickup and delivery of items, and Anita Solorio, administrative assistant, manage the daily workload. The laboratory staff completes many of the items in three to five days, except for items such as unique aircraft electronics boxes that are sent to outside specialists. Of the 5,200 calibrated items, about 4,000 of those a year are competed at Armstrong.
With that many items, some requiring multiple inspections per year, the laboratory staff is always concerned about schedules. In addition, Building 703 in Palmdale, which houses Armstrong’s science aircraft and the Stratospheric Observatory for Infrared Astronomy, is on the lab’s route for service deliveries and pickups twice a week.
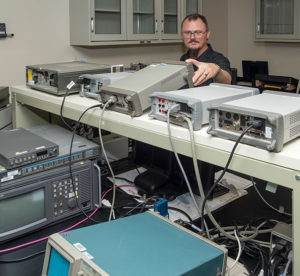
Don Griffith, equipment specialist and metrology program manager, said some of the work is complex.
“Sometimes as many as five pieces of equipment are linked together for a single measurement,” Griffith said.
Electronic metrology technicians Ronnie Juvinall and Paul Craig perform complex calibrations, which include high-level RF, or radio frequency, items; attenuators, which are electrical devices that reduce signal power, the reverse of an amplifier; and spectrum analyzers, which measures input signal strength.
“In the calibration world there are two combined aspects to performing the calibration,” Griffith said. “There is the science, knowing the physical properties and environmental influences that must be considered for a quality measurement and the art, the je ne sais quoi that enables technicians to make accurate and precise measurements beyond the black and white of procedural steps and equipment specifications. It used to be 50-50, these days most of it is the science of the measurement and yet there is still an element of the art form. There is always a good way to do something we call best practices.”
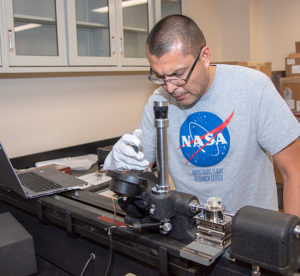
Metrologist Arnold Gonzalez, a 20-year veteran of the lab and a 40-year veteran of dimensional metrology, is a key asset in developing and refining those practices. Gonzalez uses experience and specialized, precision tools to test torque wrenches and dimensional measuring tools to ensure they are properly calibrated. Shrink wrapping tools is one such best practice for infrequently used tools that can extend calibration requirements.
Alex Rivera, a metrology technician in the pressure lab, is focused on calibrating gauges for aircraft and for items that service them, such as nitrogen carts. Altimeters that show the altitude of the aircraft are calibrated, as are digital readings from mechanical equipment, such as gas relief valves and tire pressure gauges.
Regardless of what calibration the lab staff is working, there can be no doubt that the proper completion of the task makes flying safer.


